Hello hello! Hope you’re having a great Saturday.
Totally been slacking on getting this post out, not gonna lie. 😝 I’ve been switching my mail software over and didn’t realize how much that actually entailed!
Anyways, with the warmer days ahead, that means breaking out all the shorts and all the dresses, and that means tanning! Especially if you are pale like me. Personally, i’ve never been a fan of going to the tanning salon. Not gonna lie, tanning beds freak me out, and spray tans aren’t really my thing, haha. I like to self tan at home, that way I can control how dark I get +I feel like it’s the safer option for my fair skin. If you want to give it a try at home, it’s super easy! I even have a few tips and trick I’ve learned that may help if you’re new to the self tanning world!
Please note, I’m obviously no expert when it comes to self tanning. However, I will say I’ve been doing it at home for years so I’ve just kind of learned what works best for my skin! All these tips are things that I’ve noticed that have really helped my tan develop and last.
Before You Tan:
Tip 1: Shower and shave the night before you plan on tanning! This helps prep your skin before hand. When you tan right after you shower, your body is too clean. Your natural body oil actually helps your self tanner to develop. So try to wait a day to allow that oil to build up just a little bit – don’t be squeaky clean! 😝
Tip 2: Exfoliate your entire body before you shave! This opens up your pores and helps you get the smoothest shave possible, allowing your tanner to go on smoother and more even.
Tip 3: End your shower by rinsing with cold water. This helps close up your pores before you tan!
Tip 4: Moisturize with a body butter, but not all over your body. It sounds silly to not, but you want to focus on certain areas. Your ankles, wrists, elbows, and knees need all the extra love since they tend to get a lot more darker then the rest of your body! This really does help prevent those areas from getting too dark.
While You Tan:
Tip 1: Apply your self tanner with a mitt or glove in circular motions! Press gently while you move the glove around. This keeps the product off your hands and helps apply your tanner much easier. Don’t rub it on! This leaves streaks.
Tip 2: Be sure to gently apply your tanner to those sensitive areas I mentioned above, since they get tanner then the rest of your body.
Tip 3: This is optional, but I like to use a large foundation brush to apply a light amount of tanner to my face. I’ve found that the brush helps blend the product out on my face rather than a mitt!
After You Tan:
Tip 1: Leave your self tanner on for awhile. Loving tan has specific time frames of how long you leave them on before rinsing. Either 2 or 4 hours is what they recommend. Some people sleep on their tan. Remember the longer you let it sit before rinsing, the darker you’ll get.
Tip: 2: If you want your tan to last awhile, avoid pools! The harsh chemicals can strip your tan.
How I Tan at Home:
I always try to shower the night before, however, sometimes I’m impatient, so I will occasionally apply my tanner right after a shower. It’s not the end of the world, but giving it a day does really make a difference!

I start by exfoliating with a sugar scrub and my exfoliating mitt. Then I shave and wash my body. Once out of the shower, I moisturize with the body butter, let it dry, then add a couple pumps at a time to my mitt, and in circular motions apply it in sections. After I’ve covered my body with the tan, I usually wait about 60 seconds before getting dressed. I like to throw on some baggy clothes while my tan develops to lounge around the house in. When the 2 hours are up, I hop back in the shower to rinse off. You can notice the tan right away, but it’s really noticeable the next morning, since the tan has set over night.
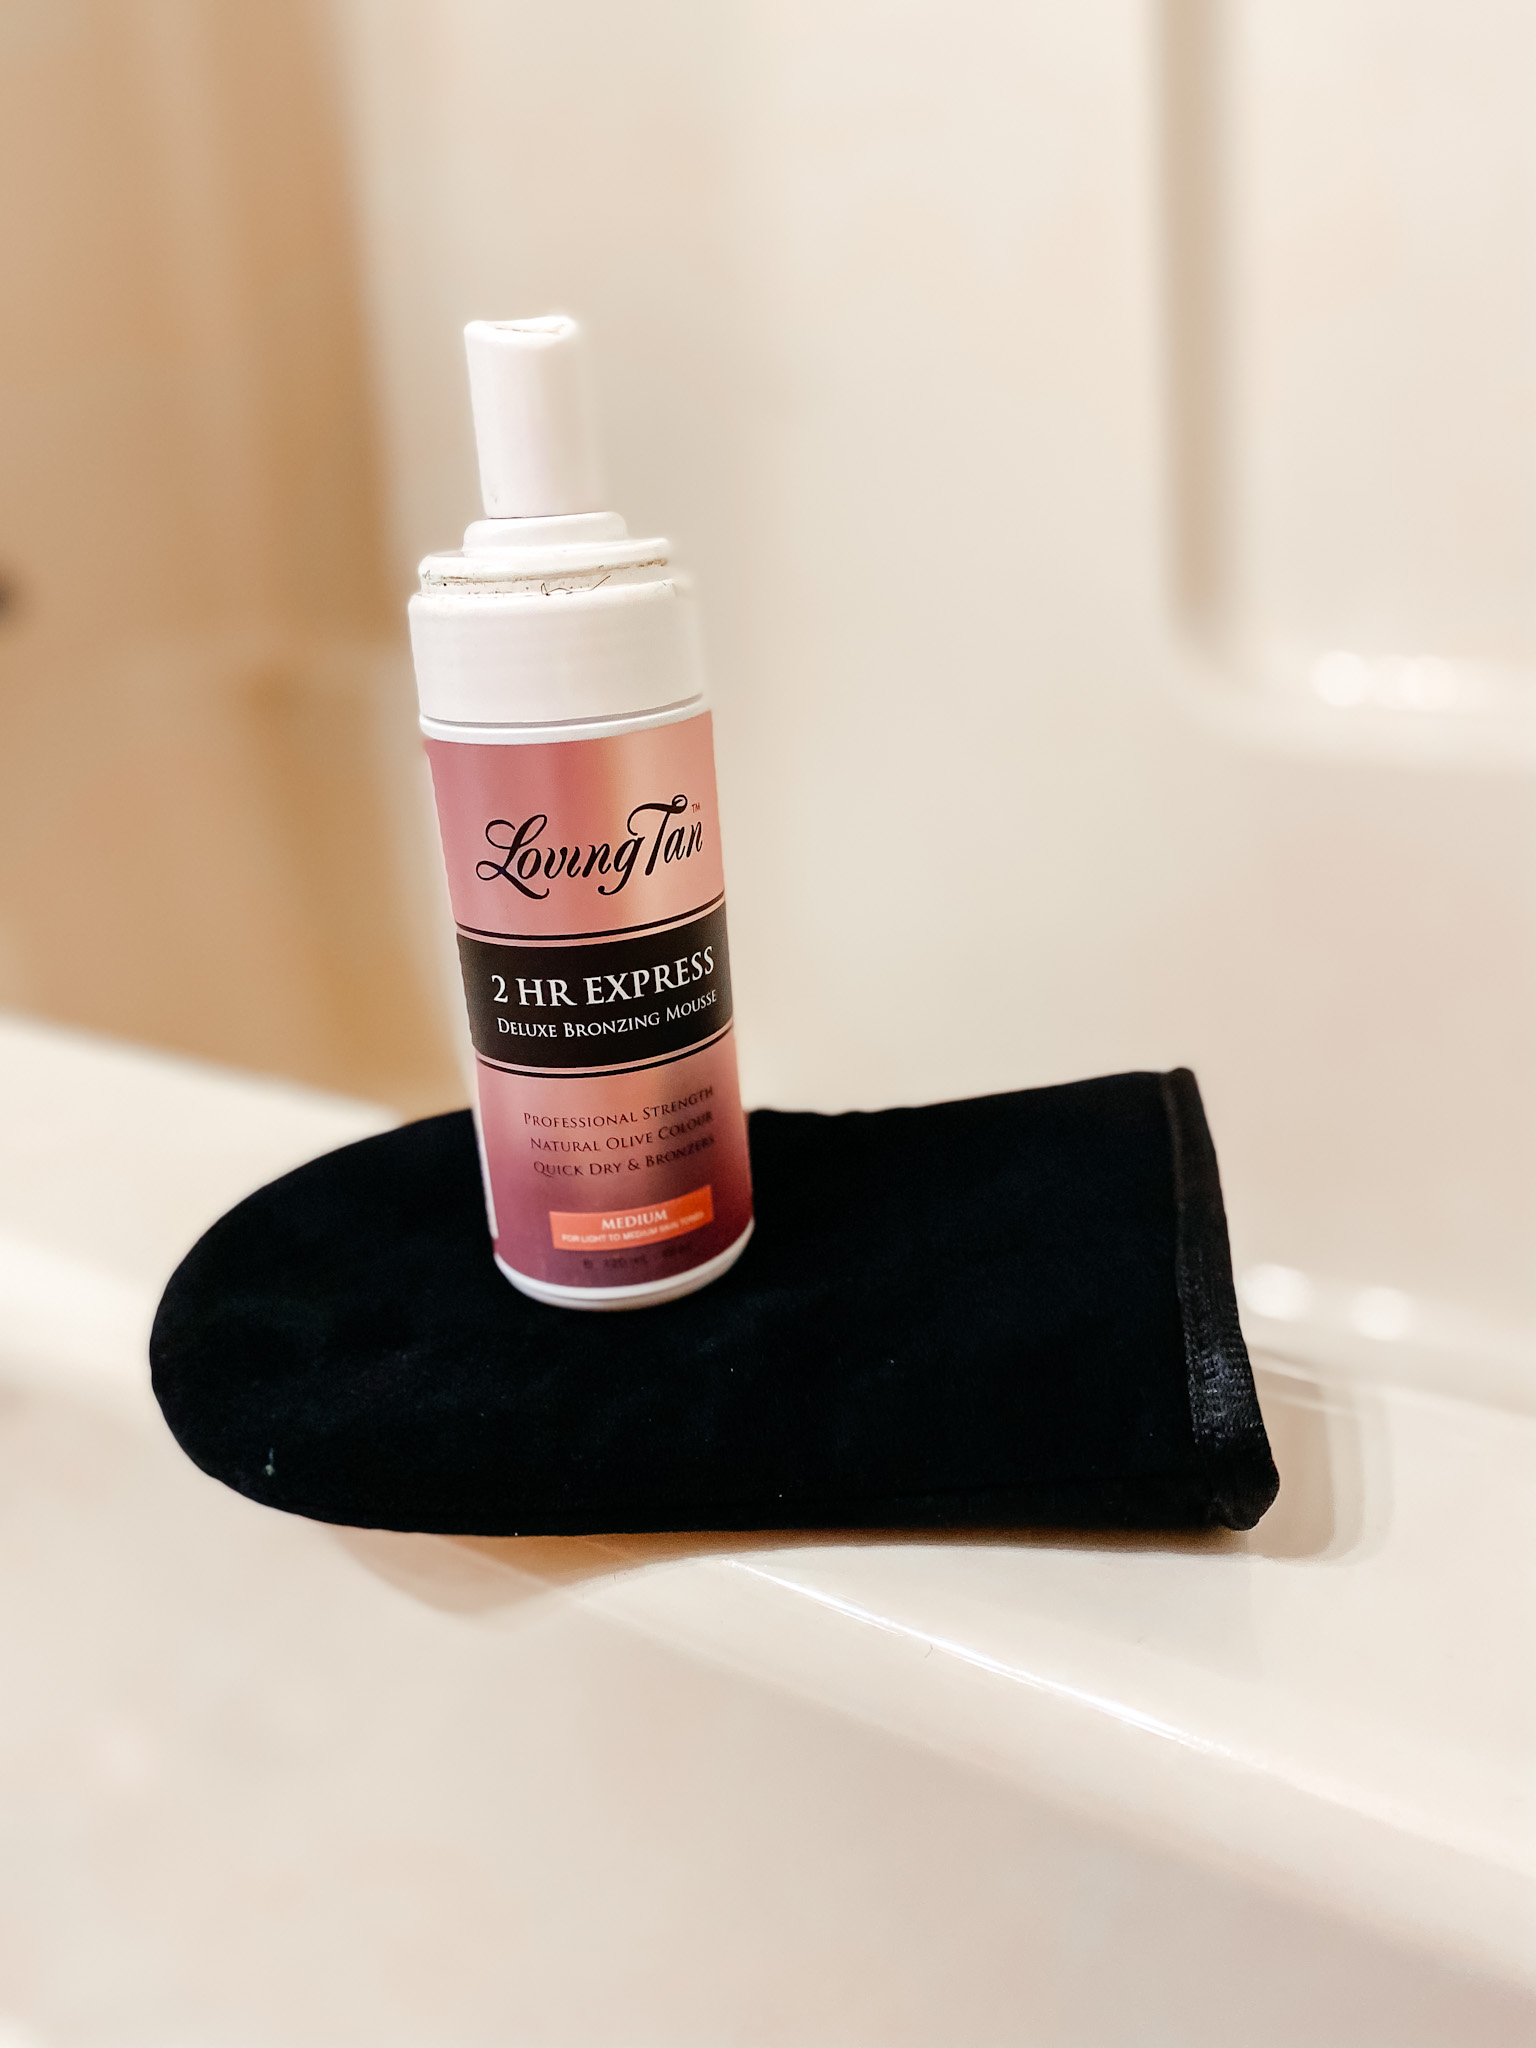
I’ve been using Loving Tan products for years. Their 2 hour express mousse in the “Medium” shade works great for my fair skin. I love that it gives you a more natural, subtle tan, and doesn’t turn you into an Oompa Loompa like a lot of other self tanners tend to do, haha. Their tanners leave more of a natural olive tone, which I prefer!
Loving Tan was so kind and gave us a code for a free exfoliating mitt with the purchase of any mousse. Use the code: LOVINGTAN at their checkout. This is great for exfoliating or taking off your tan! It’s normally $30.
Before & After:


Here is everything I use from Loving Tan:
As always, thanks for reading! I hope these tips and tricks help you when self tanning at home!


