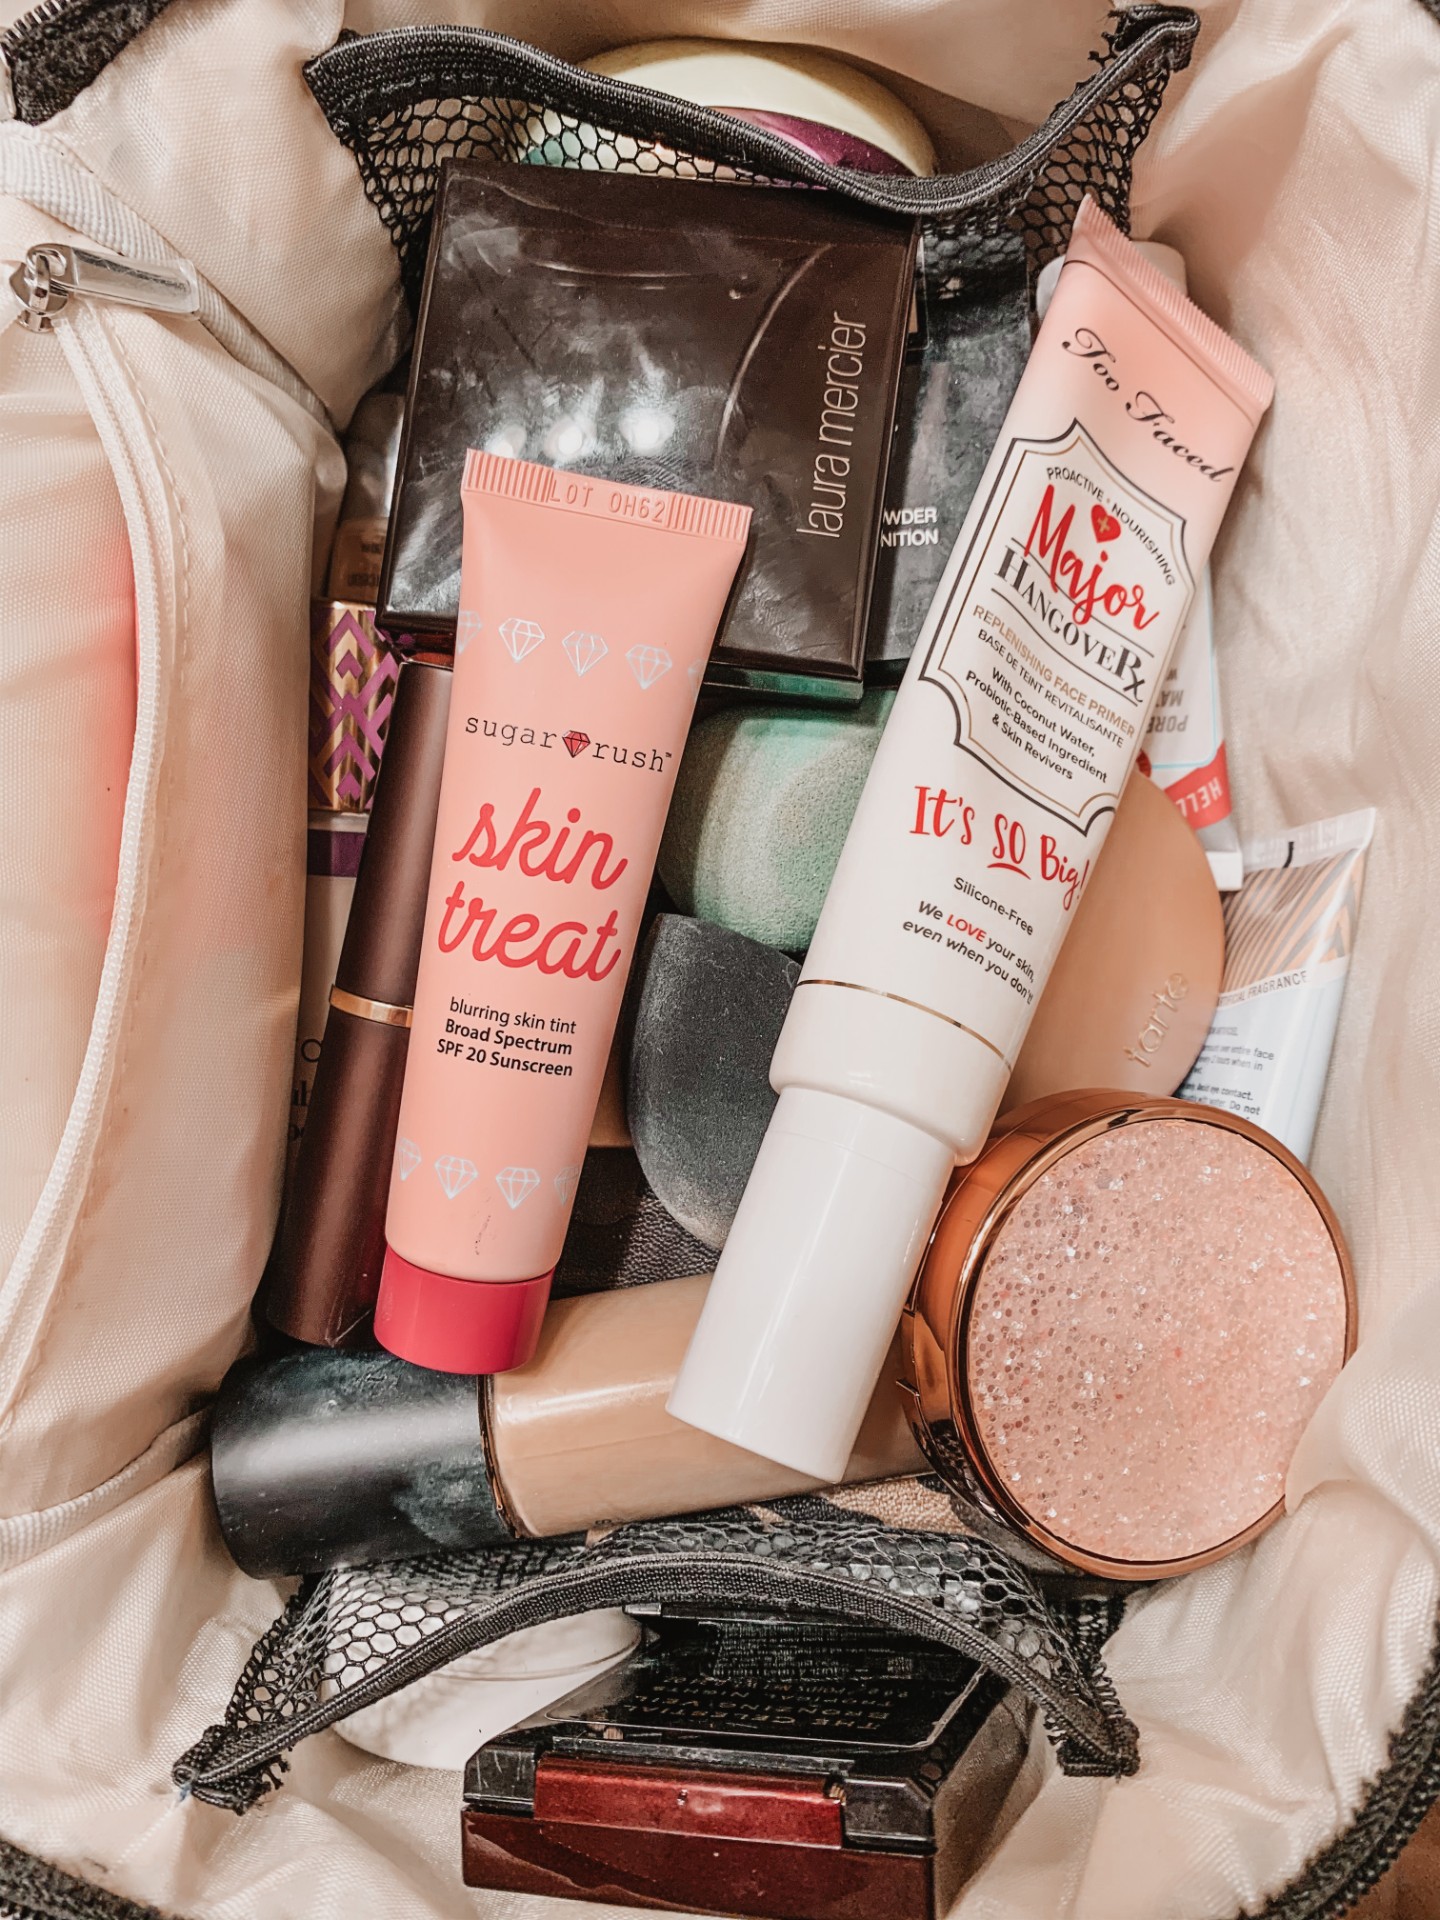
My makeup routine may seem long to some, but I’ve done the same thing for like ever, so I’ve gotten good at getting it done quicker! I have a system down to where I do all my face makeup first, then I move on to my eyes, and finish with my lips! Some steps are extra, but always seem to make my makeup look better and last allll day! Here’s how I get my everyday look.
Step 1: Prep
Before I do anything, I always make sure that my face is clean and moisturized. That is my one piece of advice. You definitely want to start out on a clean canvas, before adding all your makeup! Then, I go ahead and throw on a face primer to help my foundation go on smoother! I also like to use tinted moisturizer after I prime my face, because it doesn’t “cake” like foundations typically do. Meaning, that it makes my overall foundation coverage look better and alot smoother. This might be an unnecessary step, but to finish prepping my face, I like to add my concealer under my eyes and on any blemishes that I have!
Step 2: Face
First, I apply my foundation in little dots all over my face. and then blend it all in with a damp beauty sponge. A beauty sponge vs a brush, makes ALL the difference. My favorite sponge is this cheap one from Amazon. Lately, I’ve been using the Tarte Clay stick for my foundation, but every now and then, I’ll switch back to the Tarte Matte Shape Tape foundation. The clay stick has alittle better coverage in my opinion. Then, I add my concealer for the second time, under my eyes, on the bridge of my nose, on my cupids bow, and on my chin. I’ve found that by putting on my concealer in two different steps, helps completely hide any dark circles or bad blemishes! Next, I add a face powder to make sure my foundation sits in place and doesn’t crease. After all that stuffs on and set, I go in with my favorite bronzer. I put it along the hollows of my cheek, my jawline, and the edge of my forehead, to kinda contour my face. This makes your face look a bit slimmer! Lastly, I add just a small amount of blush to my cheeks, and highlighter to the highest points of my face. My forehead, cheek bones, cupids bow, and chin.
Step 3: Eyes
For my eyes, I like to keep it reaaal simple! I usually apply a light brown shade into my crease. My go-to is called “Jetsetter” from the Tarte “In Bloom” palette. The prettiest neutral brown shade I’ve found, that looks good on my complexion. Then, I apply a shiny shade to my lid, from that same palette. I like to use the shade “Funny Gal”. It’s the perfect pop of shimmer! Lastly, I apply mascara and some tinted brow gel. I’m not a huge fan of eyeliner anymore. I never really wear it. If I want the look of eyeliner, I typically just take a liner brush, dip it in a black shadow, and apply right onto my water line and eyelash line. That’s usually a rarity for me though, haha. Like I said, I typically like my eye makeup to be fairly simple.
Step 4: Lips
I have two lip shades that I tend to switch back and forth between. I’m either wearing the Mac Satin lipstick in the shade “Faux”, or the Tarte Matte Lip Paint in the shade “Pinky Nude”. I like my lips to be very faint pink or a neutral color. Now, in the Fall, I’ll mix things up and do a dark lipstick color!
As you can tell, I generally spend alittle more time prepping my face and on my actual face makeup itself, haha. I like my face to be pretty full coverage, while my eyes and lips are kept simple!
You can shop all my tools and makeup products from each step, below!
Tools
Prep
Face
Eyes
Lips


